How to easily deploy GitLab on Kubernetes
How to easily deploy GitLab with GitLab CI to Kubernetes cluster

I spent some time recently researching how to build CI/CD pipeline to automate testing and deploying. Since I’m developing everything in containers and use Kubernetes to manage it GitLab with its CI runners and recent integrations with k8s seemed like a good option.
In this post, I will describe the steps needed to get GitLab with GitLab Runner, up and running on top of Kubernetes.
All manifests used in this post could be found here
Update 2017-02-27:
You may be interested in automated version of this manifests
Prerequisites:
- All configurations are assuming deployment to namespace gitlab
- Domain names used in this post are git.example.com for web and ssh-git.example.com for ssh.
- All pods are configured without any persistent storage. Change
emptyDir: {}everywhere to something persistent. - Most of GitLab related configurations are set in gitlab/gitlab-deployment.yml and have to be changed.
Deploying GitLab
First, we will create a separate namespace and deploy PostgreSQL and Redis instances.
kubectl create -f gitlab-ns.yml

kubectl create -f gitlab/redis-svc.yml
kubectl create -f gitlab/redis-deployment.yml


kubectl create -f gitlab/postgresql-svc.yml
kubectl create -f gitlab/postgresql-deployment.yml
PostgreSQL password is set inside postgresql-deployment.yml manifest.
Check kubectl get pods --namespace=gitlab and wait until all pods a ready.
After this, we can deploy GitLab itself.
kubectl create -f gitlab/gitlab-svc.yml
kubectl create -f gitlab/gitlab-svc-nodeport.yml
kubectl create -f gitlab/gitlab-deployment.yml
Since I’m deploying it on baremetal cluster, I don’t have any loadbalancer yet, that’s why I have second service manifest.
In case you’re doing it in the cloud - you can skip deploy of gitlab-svc-nodeport.yml.
Let’s test that everything works so far. To access our GitLab instance we need to know node port on which it was deployed. It’s usually printed when you deploy NodePort service like this:
> $ kubectl create -f gitlab/gitlab-svc-nodeport.yml
You have exposed your service on an external port on all nodes in your
cluster.  If you want to expose this service to the external internet, you may
need to set up firewall rules for the service port(s) (tcp:30836,tcp:31447) to serve traffic.

See http://releases.k8s.io/release-1.3/docs/user-guide/services-firewalls.md for more details.
service "gitlab-nodeport" created
In case you didn’t write it down somewhere, you always can inspect your deployed service:
> $ kubectl describe svc gitlab-nodeport --namespace=gitlab
Name:           gitlab-nodeport
Namespace:      gitlab
Labels:         name=gitlab
Selector:       name=gitlab
Type:           NodePort
IP:             10.3.0.127
Port:           ssh 22/TCP
NodePort:       ssh 30836/TCP
Endpoints:      10.2.47.9:22
Port:           http    80/TCP
NodePort:       http    31447/TCP
Endpoints:      10.2.47.9:80
Session Affinity:   None
No events.
Now we know that GitLab’s web interface is available on port 31447. Navigate your browser to http://any-of-your-kuberntes-node:31447/ and behold GitLab.
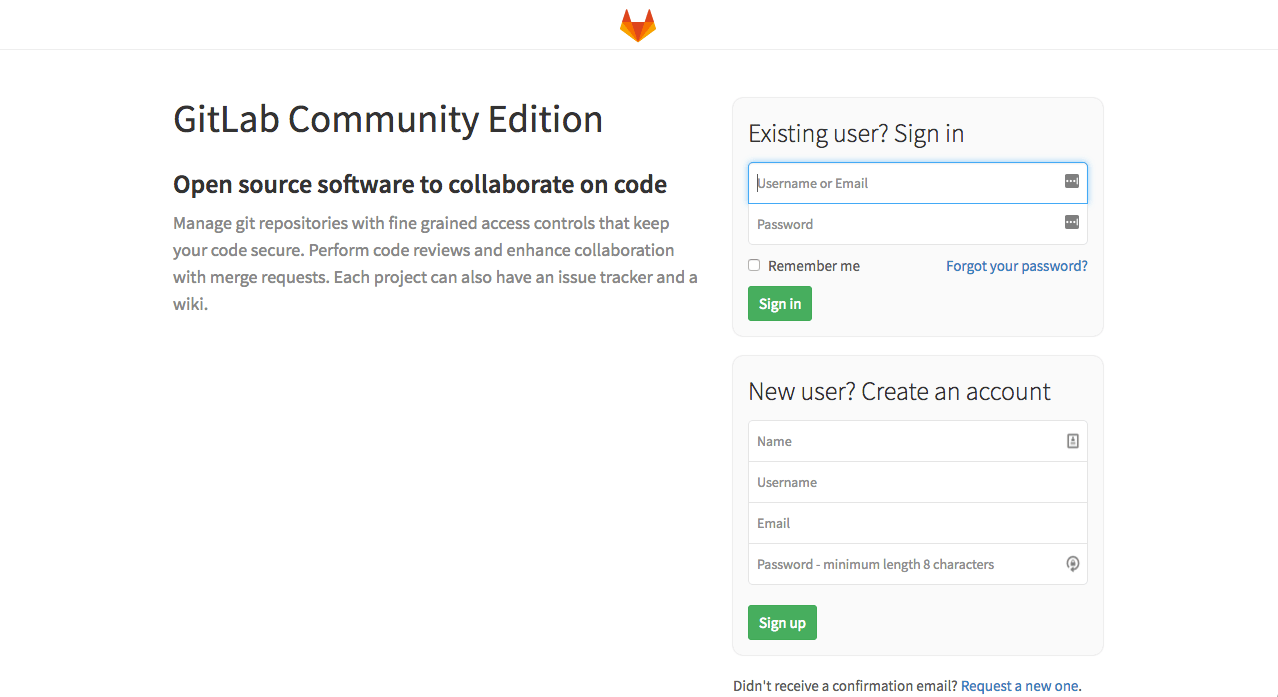
You can log in using login root, password root or whatever you set in the deployment manifest. Awesome, next step is to configure ingress to be able to access it through human readable URL.
Ingress
An Ingress is a collection of rules that allow inbound connections to reach the cluster services. It can be configured to give services externally-reachable urls, load balance traffic, terminate SSL, offer name based virtual hosting etc.
My configuration is based mostly on official examples from kubernetes/contrib
All ingress-related manifests are located at ingress directory.
Basically, it’s just a few files:
- default-backend.yml - a container that is served when DNS record is not handled by any of the ingress rules.
- configmap.yml - config map with a list of ports and destinations we want to handle.
- nginx-ingress-lb.yml - actual Nginx-based ingress-controller configured to handle traffic on ports 80,443,22
- gitlab-ingress.yml - ingress rules for our GitLab instance
kubectl create -f ingress/default-backend.yml
kubectl create -f ingress/configmap.yml
kubectl create -f ingress/nginx-ingress-lb.yml
kubectl create -f ingress/gitlab-ingress.yml
After this is in place and assuming that DNS is properly configured, we should be able to access GitLab on http://git.example.com.
Now, let’s deploy one GitLab Runner to be able to run tests.
GitLab Runner
GitLab Runner supports several executors: virtualbox, docker+machine, docker-ssh+machine, docker, docker-ssh, parallels, shell, ssh. Unfortunately, support for native Kubernetes executor is in progress now and is not ready yet. I spent few hours trying to make it work without success. That’s why for now we’re going to use simple docker executor.
Since most of the manuals are suggesting to use minio as cache server let’s deploy one.
kubectl create -f minio/minio-svc.yml
kubectl create -f minio/minio-deployment.yml
Let’s make sure that pod is running:
kubectl get pods --namespace=gitlab

gitlab   minio-2719559383-y9hl2    1/1    Running   0   1m
After it became up and running, we need to check logs to get token and secret:
> $ kubectl logs -f minio-2719559383-y9hl2 --namespace=gitlab
+ exec app server /export

Endpoint:  http://10.2.23.7:9000  http://127.0.0.1:9000
AccessKey: 9HRGG3EK2DD0GP2HBB53
SecretKey: zr+tKa6fS4/3PhYKWekJs65tRh8pbVl07cQlJfkW
Region:    us-east-1

Browser Access:
   http://10.2.23.7:9000  http://127.0.0.1:9000

Command-line Access: https://docs.minio.io/docs/minio-client-quickstart-guide
   $ mc config host add myminio http://10.2.23.7:9000 9HRGG3EK2DD0GP2HBB53 zr+tKa6fS4/3PhYKWekJs65tRh8pbVl07cQlJfkW

Object API (Amazon S3 compatible):
   Go:         https://docs.minio.io/docs/golang-client-quickstart-guide
   Java:       https://docs.minio.io/docs/java-client-quickstart-guide
   Python:     https://docs.minio.io/docs/python-client-quickstart-guide
   JavaScript: https://docs.minio.io/docs/javascript-client-quickstart-guide
We will need to copy AccessKey and SecretKey from this response and save it. It will be needed later to populate our runner.
One more thing needs to be done with minio. We need to create a bucket.
To do this we have 2 choices.
First is to create directory directly on the filesystem, like this:
kubectl exec -it minio-2719559383-y9hl2 --namespace=gitlab -- bash -c 'mkdir /export/runner'
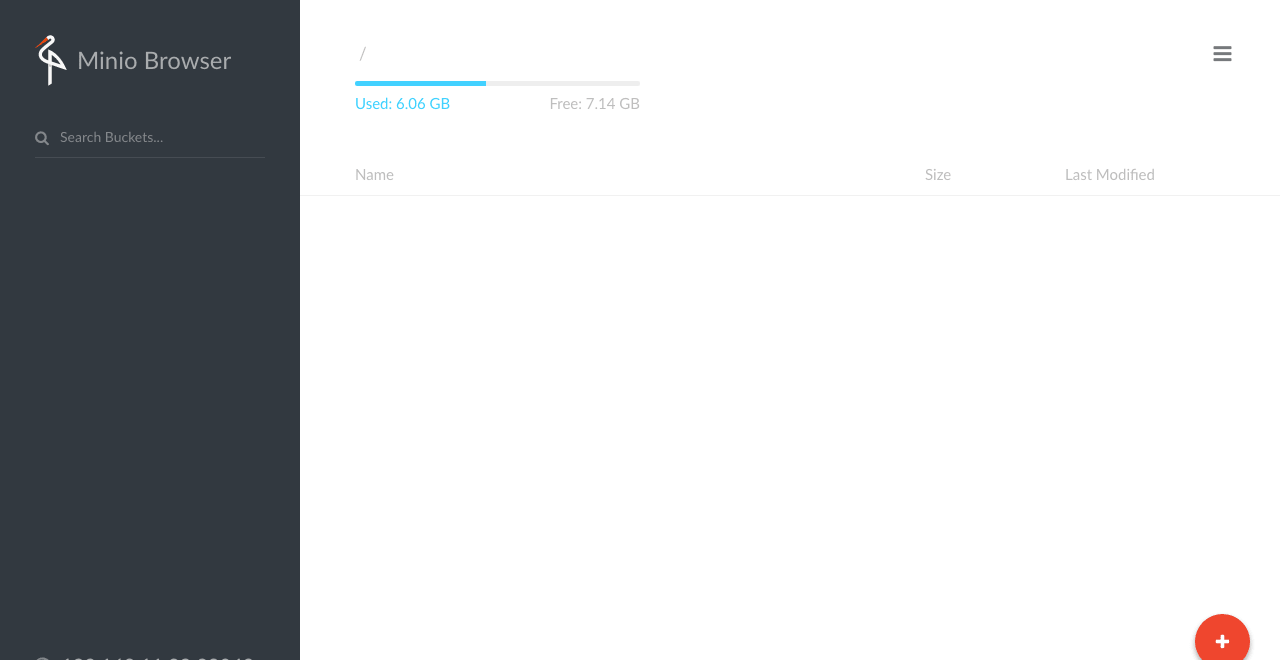
Second is to do it through the web interface. For this, we first need to port-forward minio to our machine
kubectl port-forward minio-2719559383-y9hl2 9000:9000 --namespace=gitlab
and then navigate a browser to http://localhost:9000, log in with key and secret we have, and create a bucket named runner.
Before we can actually deploy our runner we need to register it in GitLab. I found it more convenient to register it first and then save token to configmap.
For registration, we need to obtain GitLab’s own token. To get it, login into GitLab as root, and navigate to admin area. Then go to Overview -> Runners and copy your registration token
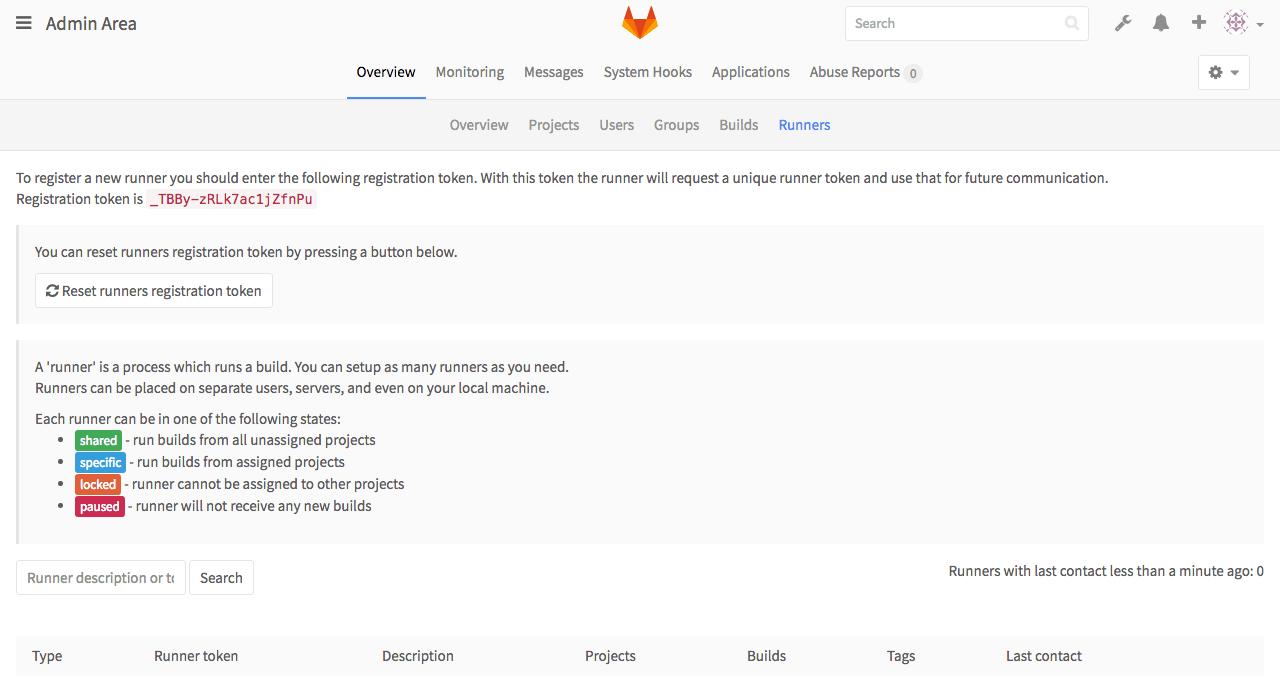
Now we need to configure and register runner.
We are going to use kubectl run command for this. It will create deployment, run default command with argument register in interactive mode.
> $ kubectl run -it runner-registrator --image=gitlab/gitlab-runner:v1.5.2 --restart=Never -- register
Waiting for pod default/runner-registrator-1573168835-tmlom to be running, status is Pending, pod ready: false

Hit enter for command prompt

Please enter the gitlab-ci coordinator URL (e.g. https://gitlab.com/ci):
http://gitlab.gitlab/ci
Please enter the gitlab-ci token for this runner:
_TBBy-zRLk7ac1jZfnPu
Please enter the gitlab-ci description for this runner:
[runner-registrator-1573168835-tmlom]: gitlab-docker-runner
Please enter the gitlab-ci tags for this runner (comma separated):
shared,specific
Registering runner... succeeded                     runner=_TBBy-zR
Please enter the executor: virtualbox, docker+machine, docker-ssh+machine, docker, docker-ssh, parallels, shell, ssh:
docker
Please enter the default Docker image (eg. ruby:2.1):
python:3.5.1
Runner registered successfully. Feel free to start it, but if it's running already the config should be automatically reloaded!
Session ended, resume using 'kubectl attach runner-registrator-1573168835-tmlom -c runner-registrator -i -t' command when the pod is running

> kubectl delete deployment/runner-registrator
After answering all questions you should find your runner in the list of runners in the admin area.
Click on it and copy generated token and paste it into gitlab-runner/gitlab-runner-docker-configmap.yml
Also, you need to fill in information about your minio installation.
apiVersion: v1
kind: ConfigMap
metadata:
  name: gitlab-runner-docker
  namespace: gitlab
data:
  config.toml: |
    concurrent = 4
    check_interval = 1

    [[runners]]
      name = "gitlab-docker-runner"
      url = "http://gitlab.gitlab/ci"
      token = <GENERATED TOKEN>
      executor = "docker"
      [runners.docker]
        tls_verify = false
        image = "python:3.5"
        privileged = true
        disable_cache = false
        volumes = ["/cache"]
      [runners.cache]
        Type = "s3"
        ServerAddress = "minio.gitlab"
        AccessKey = <YOUR MINIO ACCESS KEY>
        SecretKey = <YOUR MINIO SECRET KEY>
        BucketName = "runner"
The last step is to actually deploy GitLab Runner itself.
kubectl create -f gitlab-runner/gitlab-runner-docker-configmap.yml
kubectl create -f gitlab-runner/gitlab-runner-docker-deployment.yml
That’s it, now we have GitLab up and running with CI configured. To test it we can import test repository and run the pipeline.

Share this post
Twitter
Google+
Facebook
Reddit
LinkedIn
StumbleUpon
Email